Squarespace SEO
Image Optimization
The Ultimate Guide to Squarespace Images
(Updated for 2023)

Optimizing your site for SEO is an overwhelming task.
So where should you start?
We’re convinced optimizing images correctly is a key component to ranking on the first page of Google.
In this guide we’ll show you exactly how we rank our clients through image optimization including:
What files to use
Size matters! (Bigger isn't better)
How to name your images
The key to adding image text
And so much more.
Let’s get started.
Table of Contents
Chapter 1: Select Correct Image File
Chapter 2: Choose Correct Image Setting
Chapter 3: Reduce File Size
Chapter 4: Name Images Correctly
Chapter 5: Add Alt Text to Images
Chapter 6: Add Image Text
Chapter 7: Push Images Below the Fold
Chapter 8: Use Original Images
Chapter 9: License all Images
Chapter 1: Select Correct Image File
JPG? PNG? SVG? WTF?
There are so many different file types it can be overwhelming when choosing the right one.
But it doesn’t have to be.
This chapter will break down which file type to use and when to use them.
Having compelling images is paramount to having a successful website.
The reason is twofold.
First, images play a vital role in breaking up your content, increasing the chance of holding your visitors attention longer than 8 seconds. The longer a visitor stays on your page, the lower your bounce rate becomes, and the more points Google gives your website.
Second, when your images are optimized properly it’s yet another way to tell Google what your site is about.
How to choose the right file extension
When optimizing images we need to ensure we’re using the correct file extension. But when there’s so many file choices available how do we know which one to choose?
Choosing the correct file extension is the foundation for correctly optimizing your images (no pressure!) so be intentional on which extension you use. Luckily, Squarespace simplifies the decision making process by only supporting PNG, JPEG / JPG, and GIFS.
Here’s what to consider when deciding what image type to use:
-
PNG is the sharpest, crispest option for images. That said, it also ends up being the largest file size so it’s better to use this extension for smaller images.
If you need to edit the image, it’s best to do it in PNG form first as the quality is higher, then convert it to a JPEG for uploading.
And definitely use PNG if you need a transparent background such as logos (see SVG below).
-
JPEG (or JPG) is the best option for larger photos (like banners).
It’s important to keep the file size as small as possible without compromising quality (more on that to come in Chapter 3) and the JPEG / JPG format will produce the highest quality image with the lowest file size.
-
GIFs are animated images and super fun to use but take up a massive amount of storage so use them sparingly.
-
SVG is how most graphic designers save logos because they can be increased to any size without being distorted or pixilated. That said, Squarespace does not support SVG files so you’ll need to convert the file to JPG or PNG.
If your SVG file is specifically for a logo converting it to PNG is the best option.
How to convert an image from one extension to another
What if you have a PNG image and you want to use a JPG? How do you convert an image from one file extension to another?
It’s actually not that hard. You can use a free online file extension converter or do it on your computer. Either option works but we prefer to use our MAC computers for this.
-
Open the image in Preview
Click File in the top left corner
Select Export
Choose your file extension (JPG, PNG, etc.)
Save the file
-
Open the image in Paint
Go to File
Scroll over Save As
Choose your file extension (JPG, PNG, etc.)
Save the file
Now that you’ve successfully identified which file type to use, it’s time to move to Chapter 2: selecting the correct photo settings.
Chapter 2: Choose Correct Image Setting
DPI, PPI, RBG, CMYK, OMG
Familiarize yourself with photo resolution settings for best SEO practices.
-
RGB simply stands for red, green, blue. This is the standard method for getting the colors right on screens such as computer monitors and TVs, which means you’ll want to save all your photos in RGB.
To save your photos in RGB:
Go to Image on the menu bar
Hover over Mode, and from the options select RGB Color
Then Save As
-
DPI = Dots Per Inch
PPI = Pixels Per Inch
DPI is only used to measure the resolution of an image when it comes to printing. If you use a printer that can fit more dots inside of an inch, the quality of the photo will be much higher. DPI isn’t relevant when it comes to computers as they measure in pixels, not dots.
PPI is how many pixels there are per inch in an image on the web. The more pixels there are, the higher the quality of the image. The standard image resolution size is 72 PPI.
Squarespace isn’t too concerned with the PPI though. They’re more focused on making sure the image stays 500KB or smaller. Preferably smaller.
-
CMYK color mode is only used for printing and will make your images look strange when viewed on a website so be sure to skip over this setting for your website images.
Chapter 3: Reduce File Size
Size matters!
(Bigger isn’t better)
When you reduce your file size, you speed up your site.
A slow site negatively impacts your SEO.
Reduce file sizes to make your website load faster.
If you don’t have a fast website people will bounce harder than a fat kid on a trampoline.
On average, people wait around 3 seconds for a website to load before finding a faster one. Even a one second delay in load time can cut conversions by 7%.
A slow site will sabotage your SEO
Page speed is a critical factor when it comes to ranking your website higher on Google’s search engine results. A site that loads too slowly hurts your SEO and CTR (Click Through Rate).
Having images is important in breaking up content and keeping readers engaged. The more content you have, the more images you’ll need to use. This is why keeping photo file sizes as small as possible, without compromising quality, is crucial.
Squarespace Image Magic 🪄
One of the many reasons we love Squarespace is because the platform magically creates seven versions of every image we upload (except banner images), each with a different width:
100 pixels
300 pixels
500 pixels
750 pixels
1000 pixels
1500 pixels
2500 pixels
Squarespace automatically displays the corresponding image on the user end depending on their browser size. This helps Squarespace websites load faster BUT we still need to set our site up for success by reducing the file size.
First, we must choose the correct file extension (Chapter 1) and select the correct settings (Chapter 2).
Next, we need to reduce the file size by scaling the image then compressing it.
Thankfully, it’s not as hard as it sounds.
-
Open the image in Preview
Select Tools
Enter dimensions
Save image
-
Open the image in Paint
Select Resize
Select Pixels
Enter dimensions
Save image
File Size Recommendations
While Squarespace supports images up to 20mb (that’s HUGE folks), images should be less than 500kb (we typically shoot for 350kb or less).
We generally use the dimensions 1500 px wide by 1000 px high for landscape images; portrait images will be flipped (1000 px wide by 1500 px high).
Pages should never be more than 5mb and anything over 1mb will slow down load time on mobile devices. It’s a good idea to check your page content size for good measure.
Don’t use distorted images under any circumstances. Blurry, pixelated, or stretched images will make your site look unprofessional and visitors will be able to tell immediately.
How to properly size banner images
Banner images can be the trickiest image to get right because they always display at their original image width. A good rule of thumb is to set banner image dimensions to 1500px by 1000px and keep them in landscape orientation.
The absolute maximum width should be 2500px. Anything over that will cause page loading issues. Since Squarespace doesn’t resize banner images, it’s up to us to make sure it’s right.
Compress your images
Now that you’ve selected the correct file extension and scaled your image, it’s time to compress it.
TinyPNG is our go-to resource as it uses smart compression techniques to reduce the file size of files without jeopardizing image quality.

Reduce file size for Squarespace Images using TinyPNG.com.
It can be a tedious task to scale and compress images through the compression tool but I’ve found the effect is nearly invisible and really does a great job of decreasing the file size.
Not only will your SEO ranking improve, but people will stay on your site longer if they don’t have to wait for it to load.
Chapter 4: Name Images Correctly
How to name your images so Google can read them
Naming your photos correctly will help them get indexed into the right searches.
The better indexed your image is, the better your SEO will be. Keep reading to see how easy it is to do on Squarespace.
Google may know your mother’s maiden name and the next vacation you thought about taking (yea, it’s creepy) but currently the search engine giant can’t “read” your images (yet).
The file name tells a search engines what it’s looking at so it can rank your site accordingly, increasing the chances it will show up in image searches. The name also acts as Alt Text if it isn’t otherwise provided.
Having a file name like “IMG_1144” means nothing to Google.

Instead of using the default file name use a short description about the image, incorporating the keyword into the name when appropriate.
Name your image files using lowercase letters, numbers, and hyphens.
Shortly describe what’s in the picture without going overboard by using a long name. And remember that keyword stuffing is never okay so make sure if you’re adding your site’s keywords that it’s actually relevant to the photo.
You can change the filename for image blocks directly in the platform. Simply click on “edit image” and enter the file name.
For banner images, you’ll need to re-upload the image with the new name.
Then, take it one step further by creating a sitemap of your images.
Pro tip: see this guide for other areas to add keywords.
Geo Tag Images
There are a few important things to remember about geo tagging images.
Geo Tag all images at geotagseo.com/editor
Set location to client’s city
Ensure image file is named properly according to Step 3
Add Tags
Good tags are descriptive and include main targeted keyword
i.e. expert-tree-service-st-louis
Add Metadata Description (follow steps as Alt Text below)

Chapter 5: Add Alt Text to Squarespace Images
Add ALT text to rank in search results
If you want to rank on Google, adding Alt Text is imperative.
So what the heck is it? And why does it help SEO?
In this chapter you’ll learn what Alt Text is, why it’s important, and how to add it to your Squarespace images.
Google references the importance of adding Alt Text in their SEO starter guide.
Alt text, or alternative text, describes an image on a web page. It’s not usually visible on the page itself but it’s a fundamental step in optimizing your images.
Alt Text both improves UX (User Experience) and improves your SEO.
Why is Alt Text so important?
Alt Text is the description of the picture that appears on the screen if the image itself doesn’t load. It helps Google crawl and rank your site.
This is also the text that’s read aloud for those who are visually impaired. Millions of people use screen readers to convert online content, including images, to audio. If an image doesn’t have Alt Text they will either skip over the images or read out file names.
It’s a good thing you’ve already properly named your image file!
There are several right and wrong ways to add Alt Text to Squarespace Images.
Let’s jump in.
How NOT to add Alt Text
Let's look at the picture. Below it I’ve given examples of what bad alt text looks like.

Bad Alt Text example: alt="This is a picture of a desk with a computer water flower and other decor on it that displays a website and has a keyboard and chair”
Best Alt Text practices
A good example of Alt Text is: alt="organized desk with feminine decor and computer displaying a beautiful Squarespace website"
Keep the Alt Text to a maximum of 125 characters and don’t start off by saying “this is a picture of.”
Instead, go directly into the description of what’s in the image and use your keyword if it fits in naturally. If it sounds like a robot is talking it’s a sign you’re probably not doing it right.
You can omit words like “a, and, the” and refrain from using hyphens in your Alt Text.
How to add Alt Text in Squarespace
Squarespace very excitingly added the capability to enter Alt Text for images.
Up until recently, the workaround was to simply add the Alt Text to the caption or title field. This worked because Google knows and understands that the caption is effectively the Alt Text.
However, now there’s an easy way to add Alt Text to image blocks.
Simply upload your image and enter the Alt Text into the “IMAGE ALT TEXT” form field.

This in-depth Squarespace guide for adding Alt Text will show you everything you need to know for adding Alt Text.
Chapter 6: Add Image Text
The key to adding Image Text
A short, but important chapter!
This is one of the most common mistakes people make when designing their own websites.
And it’s one of the easiest to fix.
Make sure you’re not adding text directly to your images with a photo editor. Using an image that has text is both bad for SEO and for UX (user experience).
Google can’t read pictures so anything you have written on an image won’t be optimized by search engine results, screen recorders for the visually impaired won’t pick the words, and text could become impossible to read depending on the browser a visitor is using.
Images are browser responsive
Images change size depending on which browser screen a visitor is using so images can either get so small text becomes unreadable or blow up so big it looks disproportionate to the rest of your site.
Also, banner images in Squarespace are cropped depending on what device visitors use so the text may be completely cut off the screen.
This means if you added words to your image via a photo editor they would most likely be cropped off on a smartphone or tablet, which makes up for over 50% of web traffic.
Instead, create a text overlay
Adding a header over an image is always the best option. If you can highlight the text with your mouse Google will be able to read it.
Your content will move seamlessly within the container so your text will never be cut off, no matter what device your visitor is using.
It’s also much easier to edit text then having to go back into your photo editor to manipulate the content.
Chapter 7: Push Images Below the Fold
Keep your Readers Engaged
Images add to the aesthetic, but words are always more important.
Make sure they’re the first thing that appears on your homepage. Scroll down for a couple examples on how to do this well.
When a visitor lands on your site they want answers and they want them FAST.
Which is why pushing your photos below the fold is almost always the best practice.
So instead of this:

Do this:

Or this:

Chapter 8: Use Original Images
Personalize your site with authentic photos
We know, stock images are nice, easy, and free. But there’s a catch. You’ll never reach your full SEO potential if you don’t use original images.
You want your brand to stand out! Professional photos are the only way to make your site one of a kind.
Do you use stock images on your website?
Of course, we all do!
An in-depth study evaluated the effect stock images have on Google rankings.
Turns out, it’s not the best for SEO.
Researchers created several brand spanking new websites using stock images on some of the sites and original images on others.
The results?
Sites with unique images outranked the sites using stock photos.
People want authenticity now more than ever. As gorgeous and convenient as stock photos are, your audience will know they’re fake.
Which isn’t the worst thing, there are some stunning stock photos out there. But if you really want to step up your SEO game, taking beautiful, original photographs is in your best interest.
Hiring a professional photographer and using unique, high-quality images is ideal, but not always practical. They can be pretty expensive, and if your business is brand new, spending that much money isn’t an option right now.
Once you’re able to work a photographer into your budget, do it. They’ll work with you to get images that accurately reflect your personality and brand.
The best part is, you can have a consistent style throughout your site.
Also, you’ll end up spending hours trying to find the right stock photos.
By hiring a professional, you can take the photos and be done with it in a day.
A work around is to use a few professional photos for your homepage, about, and services page. Then using paid Stock Photo options like Adobe Stock, Deposit Photos, iStock and PikWizard for other pages, including your blog.
Less people will be inclined to pay for stock photos over using free sites, decreasing the chances of your photos being used on thousands of other sites.
All that being said, it’s okay to mix in stock and original photos if you do it right.
When to Use Stock Photos
For temporary projects that have a limited turn-around time
When you find a photo that matches the tone and style of your site
To help supplement the professional images
Blog posts and power pages
For projects that are more playful and fun
When to Use Professional Photos
Professional profiles
When it’s important to accurately convey your brand
On materials that represent you and your business
For product and food photography
Pro tip: if you don’t have the budget for paid photos here’s a list of free stock photo options.
Chapter 9: License All Images
If you’re not sure if the image is licensed correctly, don’t use it.
We can’t stress how imperative it is to only use images that you can have the rights to.
In this bonus section, we’ll go over what kinds of photos are safe to use, and which ones are off limits.
It’s super important to make sure we’re always using properly licensed images on our sites.
In fact, it’s so important we felt compelled to add a chapter to this post explaining why.
I’ve had real-life clients unknowingly use images they didn’t have rights to and ended up being sued by the rightful owner.
Learn from their mistakes instead of repeating them.
How do you know if you can use an image?
First, let’s address what NOT to do.
Don’t grab a random image off the internet whether it’s from a Google search or from a website you visited.
Instead, you’ll need to use a stock photo website where photographers have submitted their work to be used by the general public.
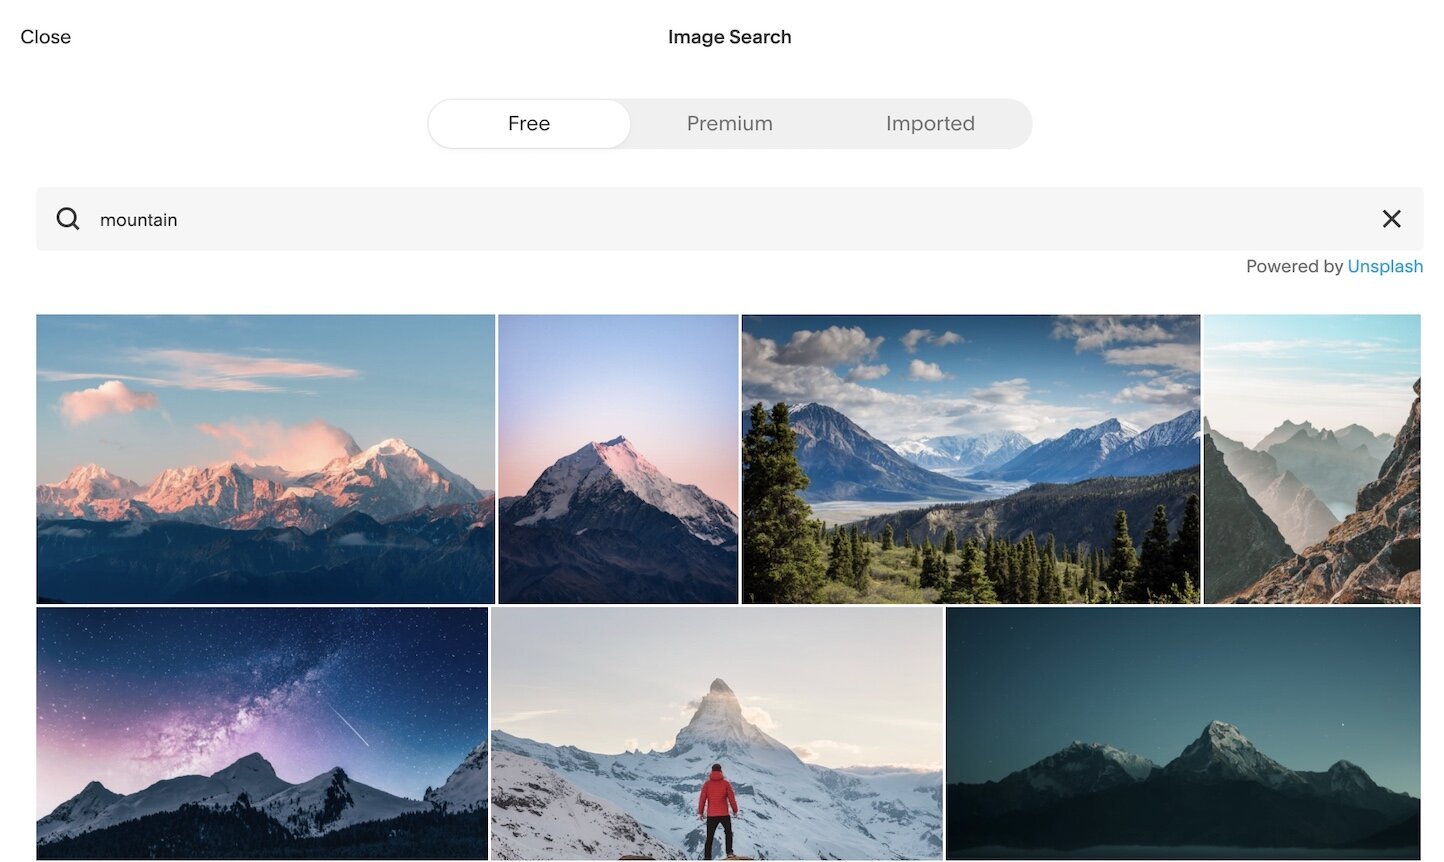
Squarespace has an awesome built-in option using Getty Images. Add an image block, click search, and enter a keyword.
You can import the image directly into your site if you’re pinched for time and name the file within the image block. However, as we learned, it’s better to download the image, select the correct settings, name it properly, then scale and compress the image before uploading it to your site.
Instead of using Squarespace Stock photos create your own.
It’s always best to use custom images rather than stock photography (Chapter 8) but if you can’t swing your own personal and unique images, it’s better to use a paid site because less people are willing to buy photos when they can get them for free.
Adobe Stock gives the first month free for first time users and you can properly license 10 images.
You’ll need to enter an email address and credit card to register but as long as you cancel within the month you won’t be charged.
In Conclusion,
Optimizing your site for SEO is highly technical and can be a pain-staking task. But if you have a plan, and start small, it can be done.
We’re on page one of Google for “Squarespace Web Designer” and optimizing our images played a role in getting us there. It’s played a paramount role in ranking our clients on the first page, too.
Having leads come to you instead of hustling for them will free up time and energy so you can focus on serving your clients instead of growing your business.
Need Help with your SEO?
We’d love to be of service. Check out our Search Engine Optimization Services.